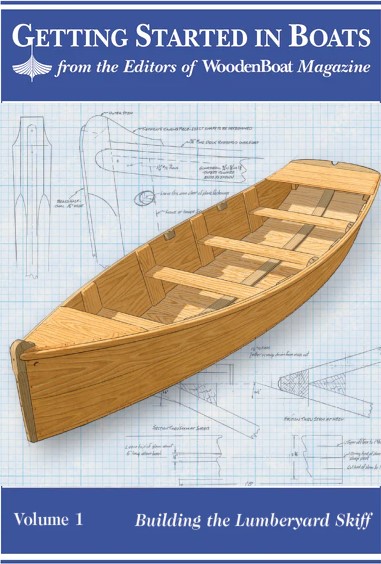
A graceful shape, dead-simple construction, and easily available materials make the Lumberyard Skiff an ideal project for first-time boatbuilders. The swept-up stern makes possible a dry-shod landing on a sloping shore, keeps passenger weight nearer the middle of the boat, and as we’ll see in subsequent installments, provides a place for the rudder (yes, there’ll be a sailing version) or the power head of an electric trolling motor. Because there’s no plywood, there’s mini-mum waste and maximum enjoyment with edge tools. Shaping and planing good quality white pine or soft cedar is joyous by comparison with plywood.
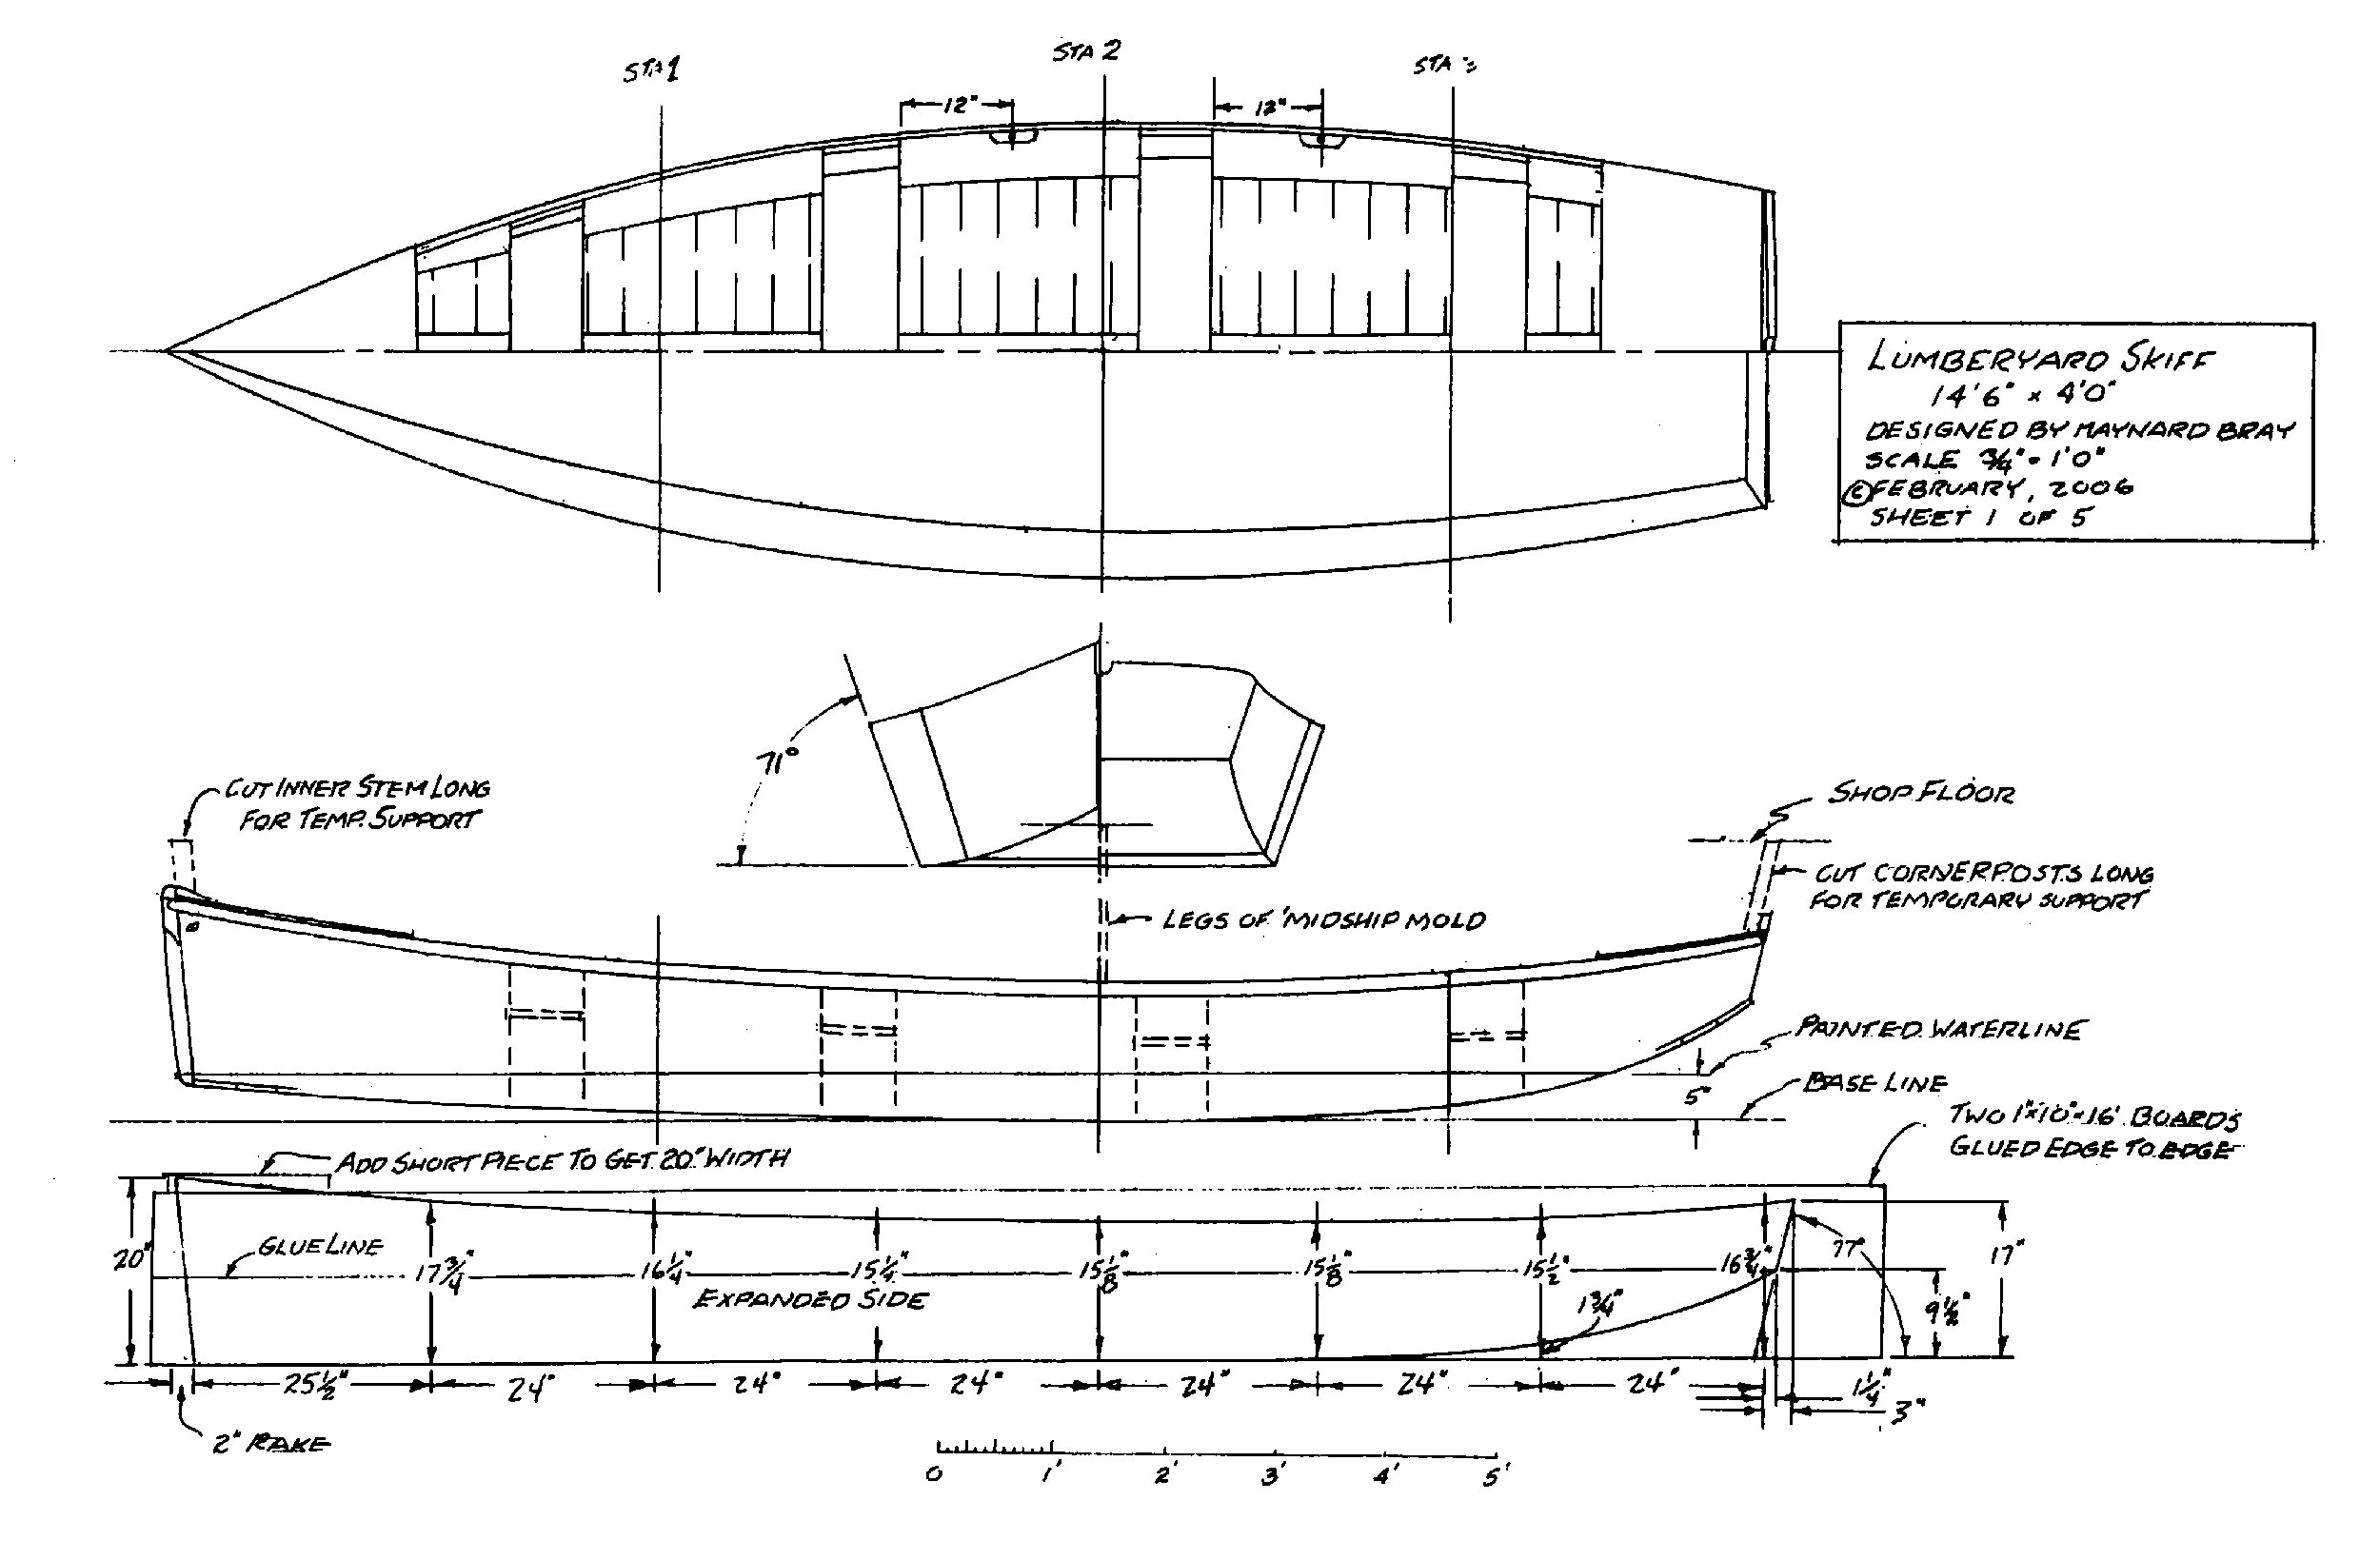
Getting the four pine planks for the sides will take some fussing. Chances are you’ll have to pick over your lumberyard’s pile of 16' 1 x 10s to find suitable pieces. They have to be nearly free of knots so they’ll bend without breaking, and straight along their edges so they can be glued together just as you get them. The planks have to be flat across their faces (no cupping tolerated) and should be kiln-dried so they won’t cup later on. You’ll pay $2 or $3 or more per board foot, but there’s almost no waste. Keep those boards out of the weather until you’re ready to use them. Laid on the grass even for a few hours in hot sunshine, they’ll cup, so let the air get to both faces equally.
You’ll no doubt have questions as you build your Lumberyard Skiff. You can ask these by mailing a letter to Lumberyard Skiff, WoodenBoat Publications, P.O. Box 78, Brooklin, ME 04616, or by visiting the www.GettingStartedinBoats.com. We’ll host an online forum at the Getting Started web site— and we’ll post photographs of completed boats and show additional details—such as a sailing rig and a trolling motor.