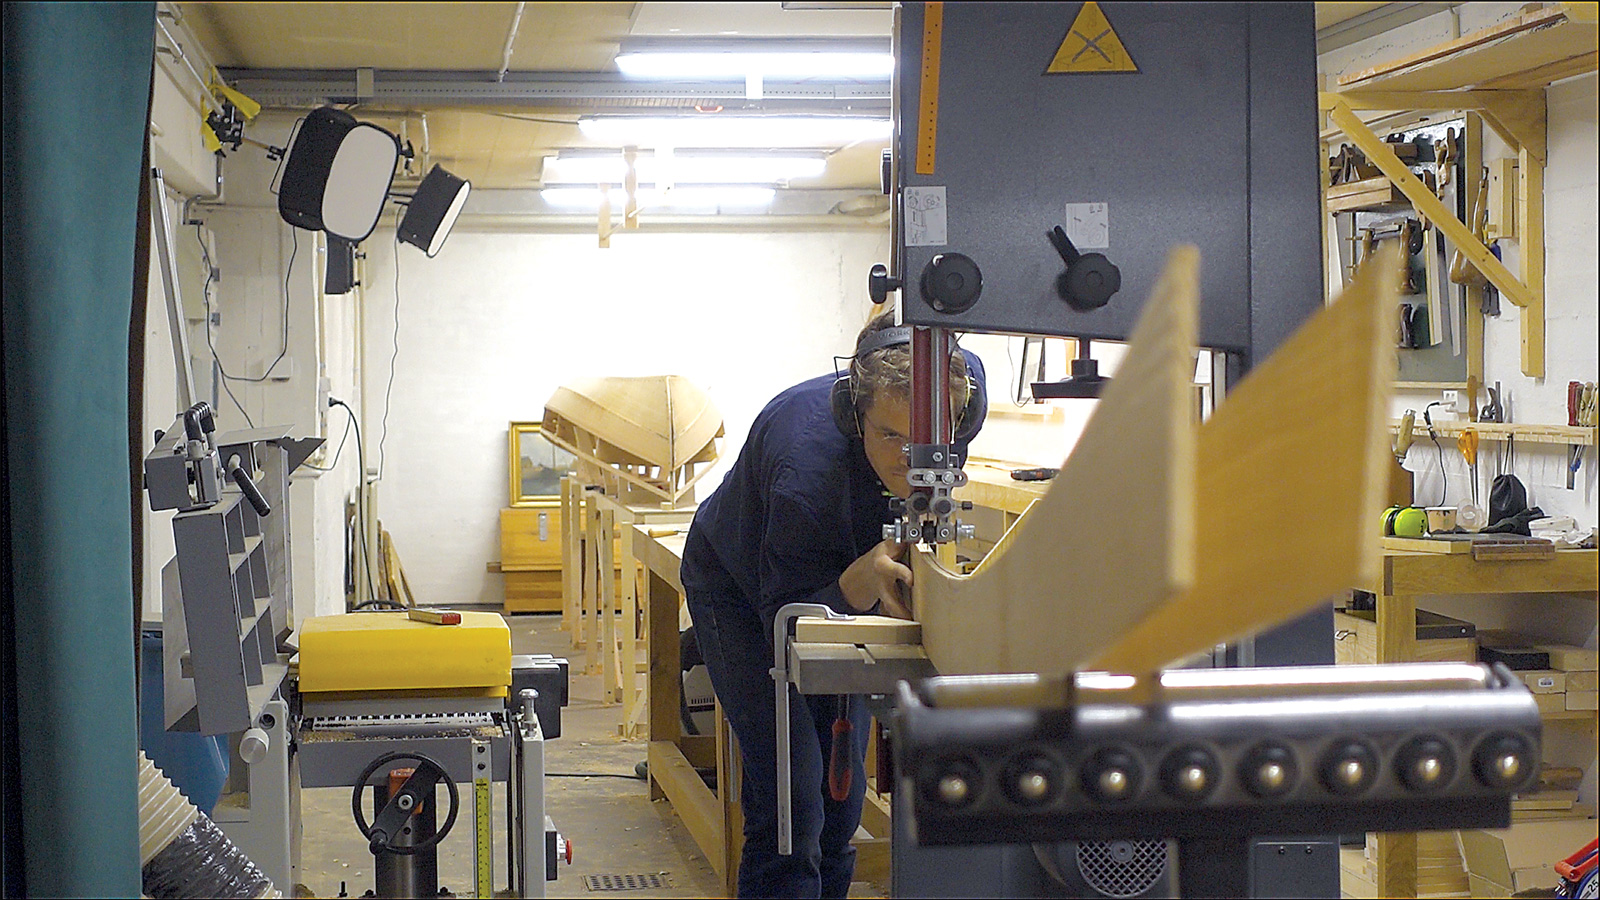
Mikkel PaghAn easy-to-make single-point bandsaw fence simplifies resawing to make two planks of identical dimensions.
One of the bandsaw’s superpowers is its ability to split thick wooden boards into thinner ones. This is useful for any woodworker, but for a boatbuilder looking to build a symmetrical boat, resawing is especially handy: Cut one piece (say, a plank) to the shape you want, and then split it in half on the bandsaw to get two identical pieces that can be fitted to each side of the boat.
One constant worry, however, is blade drift—that terrible feeling of seeing the blade wander off to one side of the board in mid-cut, leaving one of the two planks too thin to be usable. Using my bandsaw’s stock parallel fence, I’ve had that happen more than once, even while using a brand-new, high-quality ripping blade and a well-tuned saw.
A few years back, I discussed the issue with my friend Mark Reuten at Nomad Boatbuilding in Victoria, British Columbia, Canada. He asked if I had tried a “single-point fence.” I had never heard of such a thing. Mark explained that this shop-made fence helps keep the board parallel to the blade while allowing slight adjustments during the cut to compensate for drift.
The plywood fence that I built to try out the concept proved to be a revelation. It allowed me to make consistently accurate, deep rip cuts. Even a slightly dull blade worked fine, although the board sometimes had to be “steered” a bit more than with a sharp one to hit the cut line.
Since then, I’ve built the more refined version of the fence, which is shown here. This version is attached onto the stock fence with a threaded insert to receive a wing bolt, which makes installing and adjusting the fence quick and easy.
Mikkel Pagh1. Start by drilling a hole through the bandsaw’s stock parallel fence. If your bandsaw does not allow this, you can build a stand-alone fence instead (see below).
Mikkel Pagh2. Make a squared hardwood block 1¼″ × 1¼″ to a length that matches the width of the piece to be resawn. Place the block vertically against the fence on the bandsaw table, as shown, and mark the hole location through the fence.
Mikkel Pagh3. Drill a hole to receive a threaded insert. This hole should be approximately ¹⁄₃₂″ smaller than the outside diameter of the threads. The threaded insert is of a size to receive a ¼″ bolt. (As an alternative, a hanger bolt with a wing nut could work for this purpose.)
Mikkel Pagh4. Thread two nuts and the insert onto a wing bolt, and use the nuts to set the threaded insert into the hole until it is flush, as shown. Take care to keep the wing bolt square to the wood, especially for the first few turns.
Mikkel Pagh5. Remove the wing bolt and nuts, and use a block plane to chamfer and round-off the face opposite the threaded insert, as shown. To ensure accuracy, don’t remove any material right at the contact point in the middle of the fence.
Mikkel Pagh6. A set of shaped blocks of varying lengths allows you to use one that best matches a board’s width. Using a block of the appropriate length allows the saw’s upper blade guides to be lowered to assure the most accurate cut.
Mikkel Pagh7. The next step is to decide the horizontal position of the fence on the bandsaw. First, use a pencil compass or combination square to scribe a centerline all along one edge of a carefully squared-off board to be cut. Scribe twice—once from each face—to ensure that the line is exactly centered.
Mikkel Pagh8. Adjust the fence so that it is vertical and its centerline is aligned with the blade’s teeth. Adjust the fence’s horizontal position so that the cut will match one-half your board’s thickness. Also, check that the blade and the single-point block are parallel.
Mikkel Pagh9. Position a featherboard (See below “How to build a simple featherboard”) so that it will hold the lower part of the board firmly against the fence. The contact point should align with the blade’s teeth and the single-point block. When the position is correct, clamp it in place.
Mikkel Pagh10. If you cut following the line on the top edge of the board and keep the lower part of the board tight against the fence, blade drift inside the board should be minimal.
Mikkel Pagh11. Cut right through the pencil line. The single point of contact acts as a pivot, allowing you to “steer” the workpiece during the cut to correct for drift.
Mikkel Pagh12. Even the most careful resaw cut on a bandsaw will “eat” a bit of wood. On an operation such as this, I usually expect to lose at least ¼″ of the total thickness to the bandsaw and subsequent passes through the thickness planer For example, if I need two planks finished to ¼″, the dressed thickness of the original board needs to be at least ¾″.
Variations on a stand-alone, single-point fence
Mikkel Pagh (Both)If your bandsaw’s fence doesn’t allow for mounting single-point blocks, you can build a stand-alone fence that clamps onto the saw table. It can be built quickly out of a few scraps of screwed-together plywood, as shown at left above, or you can take a bit more time and build a pretty-looking fence in solid wood, as in the example shown at right above, which consists of two pieces with a half-lap joint that’s secured from below with a screw.
How to build a simple featherboard
Mikkel Pagh (Both)A featherboard is a key component of the single-point fence setup: it keeps the lower part of the workpiece pressed against the fence, allowing you to focus on following the cut line on the upper edge. To create one, make a series of 4″-long cuts along the grain on a clear, straight-grained block of wood, as shown above left. Here, I’m using a 1 1⁄4″-thick piece of ash. Round off the corner where the featherboard will meet the workpiece, as shown above right, and cut it to a size and profile that will allow you to easily clamp it to your bandsaw table.
![]()
In August 2023, Mikkel Pagh of Langeland, Denmark, launched an online wooden boat building school (www.smallboatschool.com) focusing on small boats. He is also modifying a timber-framed barn for hands-on boatbuilding courses.