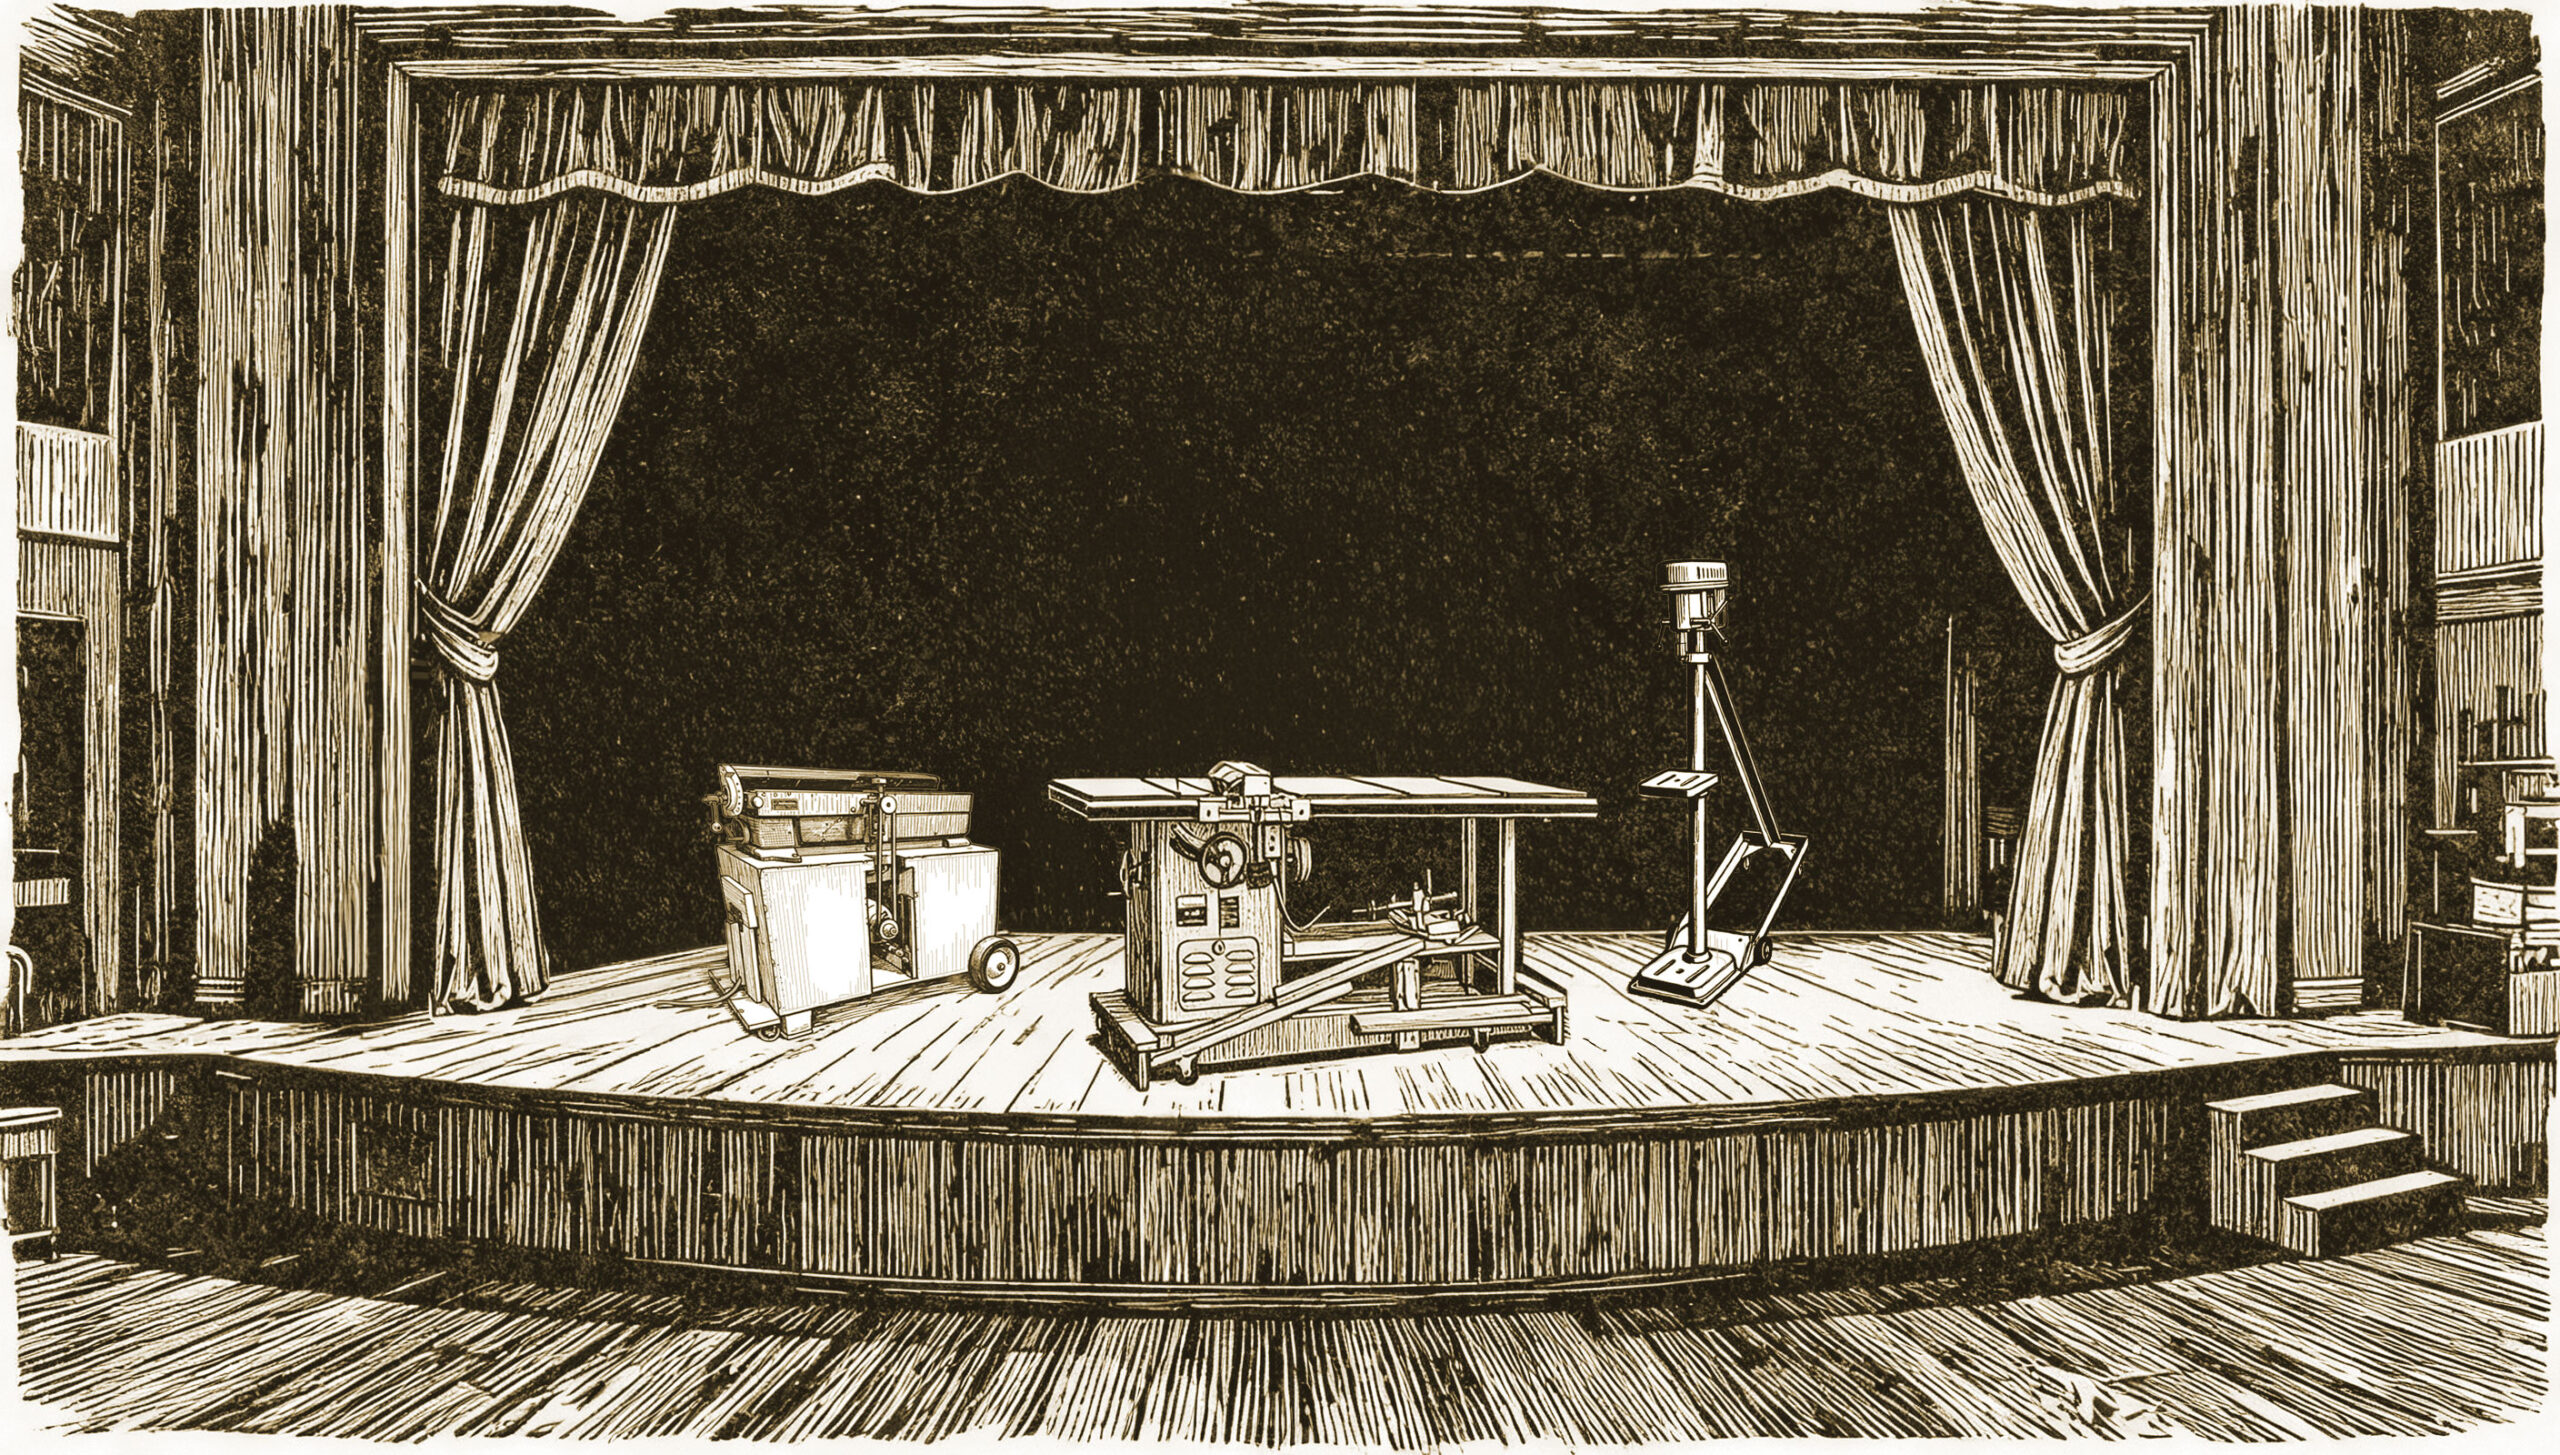
Boatbuilders are sometimes called on to make theatrical scenery, and theater stagecraft “techies” are sometimes drawn to boats. In the spirit of supporting my colleagues in both vocations, I offer some ideas from the theater world for moving big stuff in the shop.
As with boatbuilding shops, there never seems to be enough space in theater settings. The most important requirement is that “the thing”—whether it’s a tablesaw, a set of boat molds, or scenery—gets placed exactly where you want it (“on spike” in theater jargon), and when it is in position it needs to be absolutely secure, without wobbling during use.
To this end, theater folk regularly engineer devices to move tools, equipment, and sets so that these items will be solidly in place after they’ve been moved. They have to be placed directly on marks on the (possibly uneven) floor, with shims as necessary to provide solid footing. You likewise want a stationary tool to be firmly “home” when you use it in the workshop, assuring safe and effective work. On the following pages, I offer some tricks and devices from the theater world that can be applied to managing tools and other heavy items in a boatshop.
The Tip-Jack
Drill presses (as shown above) and bandsaws are examples of awkward and top-heavy objects, and for these, a tip-jack works well. In theater work, entire 15′-high walls are moved with this device. There are many variations, but basically the center of gravity of the thing being moved must be over the supports when it is in place and also when it is moving. These supports can be as simple as a repurposed, cheap two-wheel dolly with a kickstand, and can be made to be removed or folded up when not needed. The jack shown here holds the tool solidly and the casters fully rotate, allowing the heavy object to be accurately positioned and lowered into place.
Stomp Jack
For something as heavy as the full-sized tablesaw shown above, fully rotating casters create fulcrums allowing the tool to be lifted easily by stepping on the outboard ends of long 2×4 levers hinged at the ends of the tool’s foundation, as shown above. A bit of head-scratching is necessary to work out the angles and the travel of the levers to make it work with the geometry of the swivel caster and the saw’s configuration. The drawing shows that there is a longer lever arm for the caster under the heaviest end of the saw (to the left), and a shorter one for the lighter end where the extension table is. However, one stomp catches both lever arms, lifting the front of the saw on two casters. Both levers hook under a spring-loaded wooden catch to hold the unit up. A matching pair of levers lifts the opposite side of the saw. Because the saw stands on a ¾″ plywood base, it ends up only ¾″ taller than when it was on the floor. The levers raise it enough to get to a new location. The whole rig is made of scrap 2×4s, plywood, door hinges, and four high-quality casters.
Mixed Casters
If one end of an object has straight wheels or casters that don’t swivel and the other end sits on the floor when its casters are retracted, you can get away with a one-lever system with casters mounted on a board whose outer edge is hinged to a base plate below, as shown on the left side of this jointer cabinet. This has the advantage of lifting only one end to make the tool mobile, so it’s faster and easier to raise than the table-saw stomp jack illustrated above, although it is less maneuverable. Stomping on the long, hinged lever shown in these drawings lifts the left end of the cabinet, which doesn’t have permanent casters like those shown at the right. These drawings also illustrate the “over-center” principle: pulling the lever drops the heavy object—in this case an old but still reliable Craftsman jointer—exactly where it needs to be.
Pneumatic Casters
Many woodworking shops have air compressors, and the valves, connectors, regulators, gauges, and other accessories that accompany them are widely available, as are the specialized type of bolt-attached casters shown above, which have a threaded attachment that the piston of the cylinder screws into.
The appeal of air power is that it can be fairly quiet and also robust. If your shop compressor works at a typical pressure of 90 lbs per square inch (psi), this means that if you apply it to a 1″-square surface it will lift 90 lbs. These casters have the virtue of simplicity, and the pneumatic casters can be chosen for the size suiting the job.
Versatile Lifts
If you can get the thing you want to move onto a 4′×4′ or 4′×8′ platform made of ¾″ plywood with a foundation of 2×4 framing on edge (for an overall height of 4¼″), you can use short-throw cylinders, as shown in the drawing below, fitted to commercially available furniture dollies. Pneumatic types such as the one shown here—1½″ in diameter with a ¾″ stroke—are available from many places, including Grainger and McMaster-Carr. The round lifting surface has a radius of 0.75″, so its area is 1.77″ (π × r²), which at an air pressure of 90 psi yields about 159 lbs of lifting force per caster-plate. So caster plates at each of the four corners of a 4′×8′ platform can lift about 635 lbs. When you shut off the air supply, the thing drops to the ground, sitting solidly on the perimeter framework of 2×4s.
These triangular furniture dollies have some benefits that might not be immediately obvious: the triangular support on three casters spins freely on the cylinder, so if one of the casters hits an abandoned drywall screw or wood chip on the floor, it rotates to the back and might ride over the obstruction.
Pneumatic Improvisations
One low-tech way to accomplish the lift is to use the principle, which is also common in clamping wood laminations, that tremendous force can be generated with low-pressure air if it is distributed over a large area. For this purpose I have used sections of discarded 4″-diameter firehose with a rubber liner, sealing the ends with rubber cement backed up with ⅛″-thick steel plates clamped with numerous ³⁄₁₆″-diameter bolts. This clamping assembly consumes about 1½″ of each end of the hose, and a bit of pressure is lost due to the curvature of the hose’s sectional shape and the crimping at the ends. I calculate that a finished 4′ length of fire hose yields about 135 sq in of effective lifting area, so with only 10 psi you get a force of 1,350 lbs, and more pressure results in more lifting power.
These sections of hose slide into place on top of a rectangular frame made of 2×6s on the flat, with casters extending below the frame. Above this framework, a ¾″ deck for the platform, as shown in the drawings above, is built on a perimeter foundation of 2×4s on edge, with guides holding the foundation and caster frame in position. The air is supplied or released via a nylon valve fitting in the middle of the hose sections, gooped up with whatever wonder-sealer you have on hand. When the hose sections are inflated, the entire platform lifts enough for the 2×4s to clear the floor by ¾″ or so, transferring the load to the inner 2×6 frame’s casters. After the heavy thing is rolled into its new position, deflating the hose sections allows the outer platform to land on the floor again, exactly on its new location marks.
A Portable Pneumatic Air Supply
If you don’t want to have to drag a hose to something when you want to move it—which is often the case in theater production—one option is to hide an air tank somewhere on the thing you want to move and charge it up occasionally.
One option for such a system is a scuba tank, as shown above. The typical modern two-stage diving regulator sends air at about 160 psi from the first stage to the second stage at the mouthpiece, so one can get a used scuba regulator and put a standard shop regulator where the second-stage mouthpiece regulator used to be. For safety, it is best to have a dive shop do this conversion for you, because the fittings are unique to diving equipment. You will want an over-pressure safety relief valve in the system, because scuba first-stage regulators sometimes go wild and send full-tank pressure down the line.
Using scuba gear is the most expensive option, and a scuba certification is required to get a diving-air tank refill. But, as they say in theater work, “the show must go on,” and being able to work up a solution on the spot—and on a deadline and a budget—is a valuable skill. A simpler pneumatic rig can rely on a standard air tank of the type sold as a tire-refill tank or as a replacement for your rusted “pancake”-style compressor.
Carbon-dioxide tanks are also a great option. You can get 20-lb tanks from many companies that supply carbonated drink machines, which are ubiquitous in restaurants, quick-marts, and elsewhere. There is much more gas in one of these than in a comparable scuba tank. Such tanks must be stored vertically because the gas inside is in liquid state, but that fact means that there is a lot of pressurized gas available. Put a regulator on it and you can easily supply steady pressures of 150 psi, which gets pneumatic pistons very excited. I have also done limited spray-painting and sand-blasting with
carbon dioxide tanks.
Principles With Many Applications
These examples of ways of moving heavy tools can also be applied to a host of other objects: boats, timbers, building jigs, just about anything. In one high-school production of Stephen Sondheim’s musical Sweeney Todd, our crew had to move two, two-story buildings, each of which had an attached stairway, around the stage during the production. Both were lifted, silently, onto casters by pneumatic power, one supplied by a carbon-dioxide tank, the other by an air tank that was charged up to 90 psi before each show. All that is required is a strategy, planning, appropriate equipment, and care. ![]()
After 45 years as a theater designer, carpenter, painter, rigger, and techie, Ken Bowen, who grew up in a sailing family, built the Mackinaw boat SAGA and now lives in Port Townsend, Washington.


