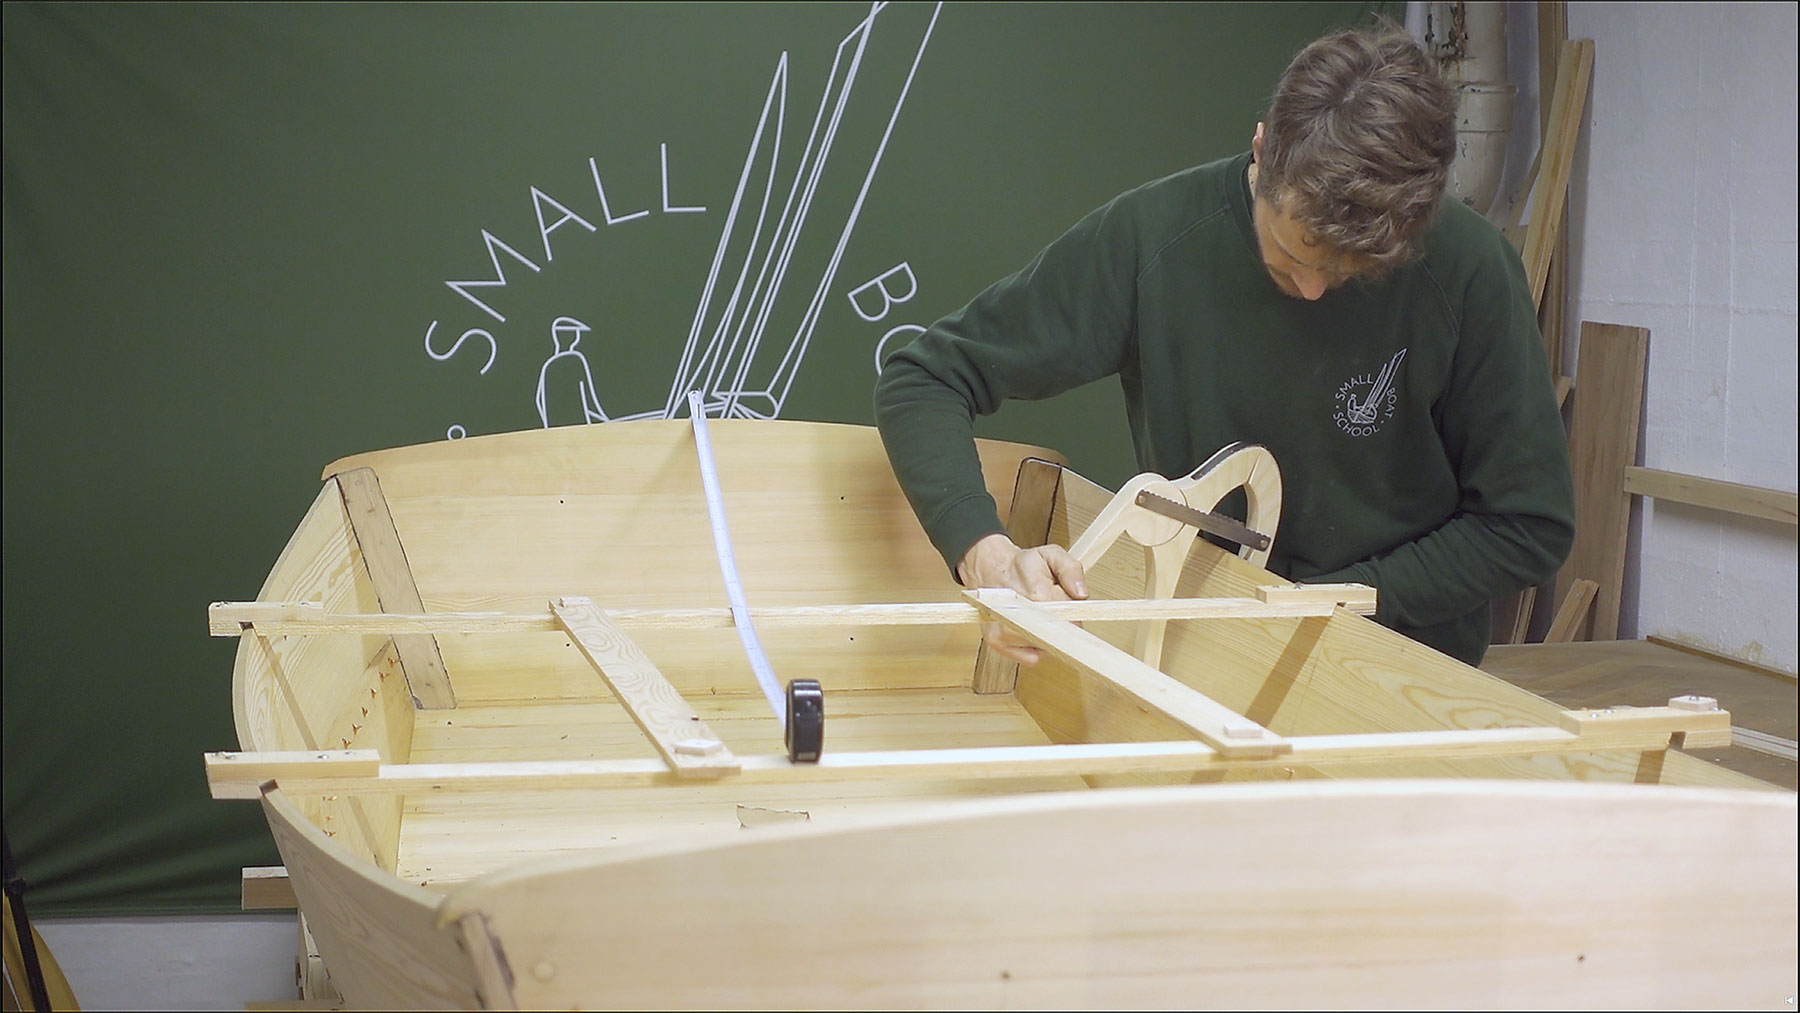
Mikkel PaghThe author developed his simple cam clamp for holding lapstrake planks firmly together for fastening.
Toolmaking is a key part of boatbuilding. Many of the specialized devices we need can’t be bought off the shelf; they must be made by the builder. Lapstrake planking provides an excellent example: the builder must temporarily hold overlapping planks in place so they can be riveted, clench-nailed, or glued together. Temporary screws, wooden braces, or specialized clamps can work for this, but nothing suits the task as well as a shop-made cam clamp.
The clamp shown here has a deep reach, so it works even with very wide planks—for example those used in Nordic boat types. It is lightweight, which is important because the weight of heavy steel clamps can distort thin lapstrake planks and get in the way of correctly assessing fairness and fit. Finally, this type of clamp is quick and easy to use, which is especially important for a solo builder rushing to hang a long, unwieldy plank fresh out of the steambox.
1. First, lay out the wooden parts on a piece of clear-grained, 1¼″-thick hardwood such as ash or hickory. A French curve can help produce a pleasing shape. (The dimensions I used for the c lamp described here are shown in the sidebar on page 52 discussing measurements and materials.) If you’re building several clamps, it’s well worth making patterns for the individual parts.
2. For the circular cutout in the upper jaw, use a holesaw set in a drill press. I used a 2¹¹⁄₁₆″ holesaw for this clamp, but as with all parts of this clamp the dimensions can be adjusted according to the needed clamp depth and the tools and materials on hand.
Cut out the wooden parts on the bandsaw. Be as accurate as you can, especially when shaping the circular part of the lever arm. Fair and chamfer the edges with a block plane, spokeshave, rasp, and sandpaper as needed. Aim for a good fit between the lever and the upper jaw.
3. This clamp uses pieces of flexible metal for the lever straps and the hinge. A discarded ¾″-wide bandsaw blade makes an excellent material for this: snap off three 6½″-long pieces, two for the lever straps and one for the hinge. File off the teeth and round the corners.
Addressing the clamp pieces first, drill holes in the lever and the lower jaw, placed as shown in the plans. The distance between the holes in the straps determines what plank thickness the clamp will work best with; the clamp shown here works for workpieces of between ⅜″ and ⅞″ thick. The hole diameter should be slightly larger than the rivets to be used.
Next, place the clamp parts (including the pads at the tips) on the workbench as shown. On the metal straps, mark where to drill holes corresponding to those in the lever and the lower jaw.
4. After drilling holes at the ends of both lever straps, place the straps on each side of the clamp, starting with the lever arm, and put copper or bronze nails through the holes, making sure they don’t bind. Cut the nails off about ⅛″ above the metal straps and then peen the ends to a mushroom shape, as shown in the photograph, to hold them in place. Be careful not to peen the nails so much that the straps bind against the wood.
5. With the lever arm in the fully closed position, set the clamp in a vise and nail the hinge strap to the back of the clamp, as shown. This strap serves not only as a hinge but also as a spring that helps to open the jaws when the lever arm is released.
6. Finally, glue a piece of leather or cork-rubber gasket material to the pads of the clamp jaws, closing the clamp on a scrap of wood to provide pressure while the glue sets. To give the mechanism extra “bite” while clamping plank laps, rub a bit of rosin on the joint between the lever arm and the upper jaw to prevent slippage.
Measurements and materials
- Lever (No. 1), upper jaw (No. 2), and lower jaw (No. 3): 1¼″-thick ash
- Lever straps (No. 4): ¾″ × 6½″ metal (2 pieces)
- Bronze or copper nails (No. 5): 1½″, No. 12 (2 pieces)
- Spring hinge (No. 6): ¾″ × 6½″ metal
- Bronze ring nails (No. 7): ½″, No. 15 (4 pieces)
- Padding (No. 8): 1¼″ × 1¼″ leather or cork-rubber gasket material (2 pieces)

In August 2024, Mikkel Pagh of Langeland, Denmark, launched an online wooden boat building school focusing on small boats; his first videos, completed over two-and-a-half years before the launch, focus on basic skills and the construction of a Harry Bryan–designed Fiddlehead Canoe. He also uses an “apprentice’s forum” for questions and feedback on progress. For his video on the cam clamp, see www.smallboatschool.com/blog/cam-clamps-for-lapstrake-boatbuilding. He is currently modifying a timber-framed barn as a facility for hands-on boatbuilding courses.
