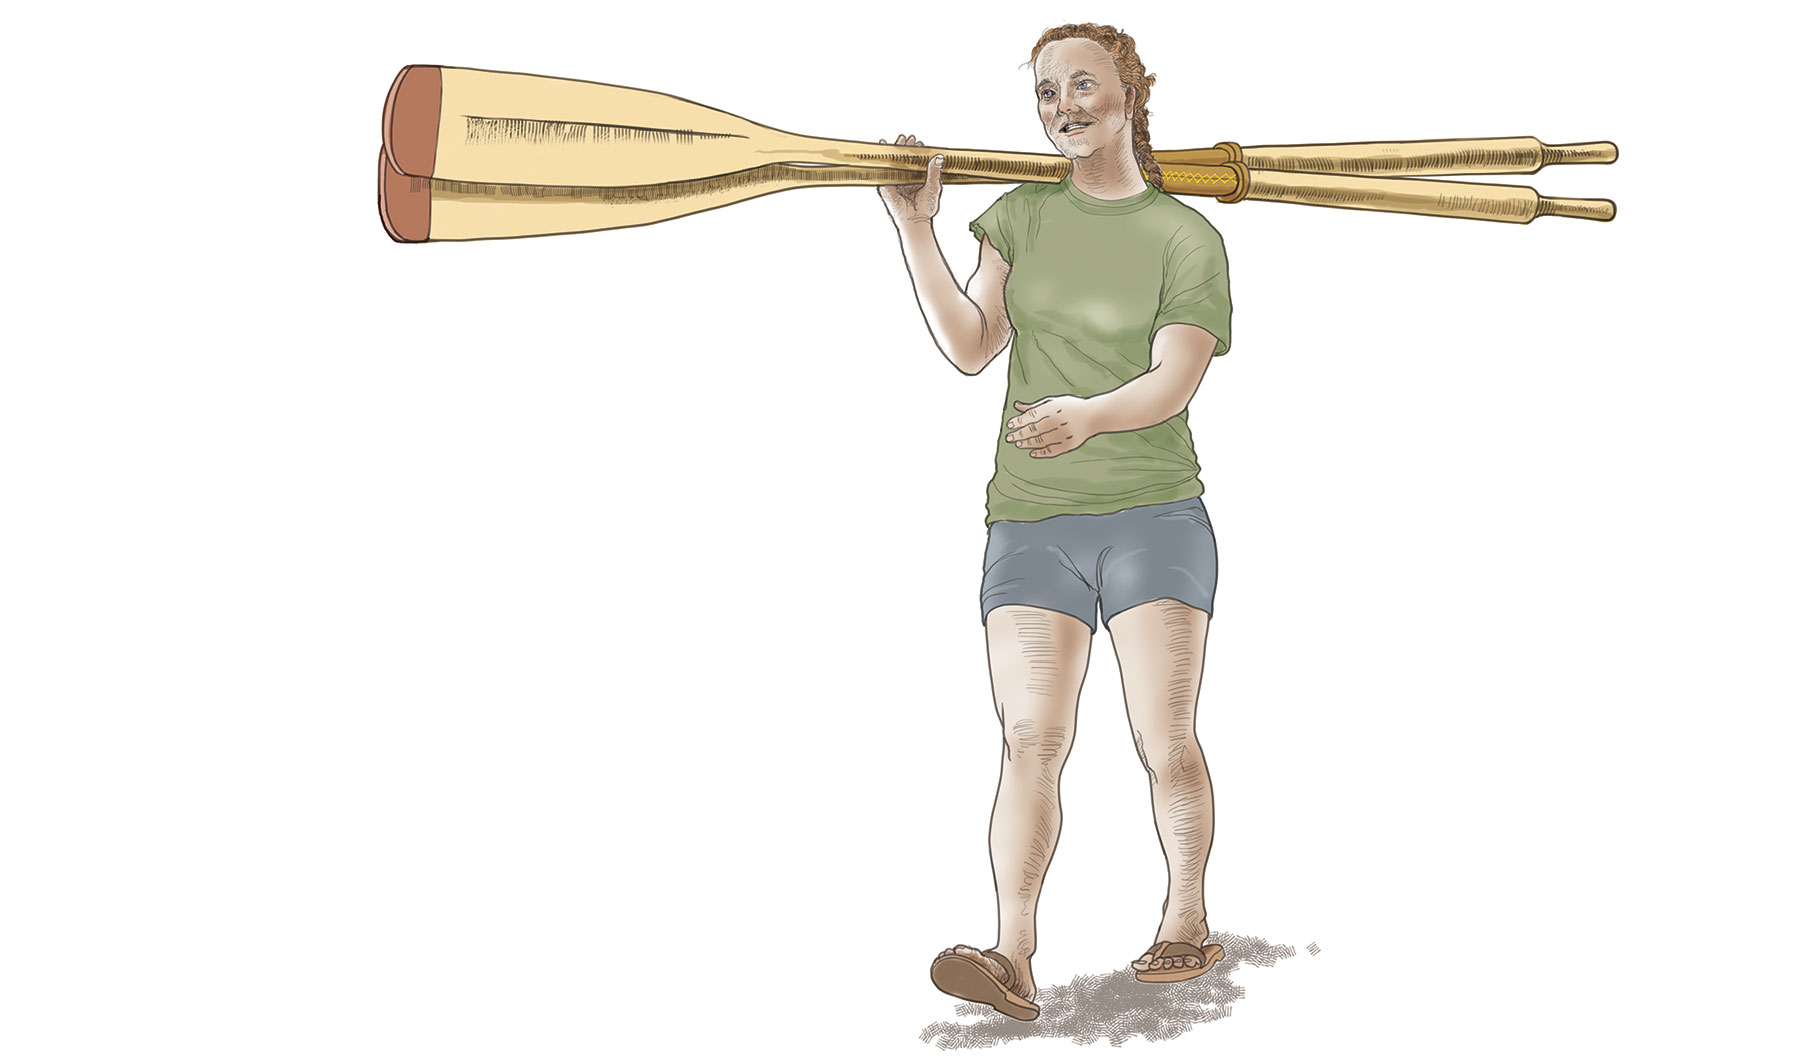
Some high-rollers cruise from one marina slip to another and step off their boats to the high-ticket dock. Other cruisers delight in finding a sweet anchorage alone. From a big boat at anchor, mariners approach shore necessities and fun via their tender. Motive power for these short trips (say, under a mile) is often provided by what old shellbacks called “Norwegian Steam”: a pair of good oars.

Caring for oars prolongs their life. A big part of care is protecting them from the unforgiving metal of oarlocks with practical, handsome, firmly set oar leathers that will make your progress easier and quieter. Laying on leathers is basic, but stitching them requires care.

To ensure your oar leathers endure miles and years of wear, pick best quality, thick, supple leather. Go for vegetable-tanned leather, an organic, painstaking, lengthy process that uses a lye solution to clear away residual fats and hair, followed by weeks of steeping in waters of successively higher concentrations of tannin-rich bark and leaves. The deeply tanned (from the tannin) hide is stretched, dried, and made supple with oils. Chrome tanning is a faster, cheaper method using moderately dangerous chromium salts that act in a day; the leather produced isn’t quite as strong or water-kindly. Our Native American forebears tanned deerskins by scraping them over a smooth log and steeping the hide in water mixed with deer brains. Interesting but not consistent.

Don’t fix leather to your oar shafts with copper tacks. Each tack offers an entry for fresh water to penetrate and promote rot. Instead, use waxed twine to stitch your leather onto your oars. This is when synthetics shine brighter than organic linen, cotton, or hemp. A good spool of polyester Marlowe waxed sail twine will shrug off wet-and-dry cycles better than old-school fibers. You should already have a selection of sailmaker’s needles—which have triangle-sectioned shanks—in three or four sizes, kept in a long, waterproof pill bottle with a pill-bottle dessicant tab. For this task, choose needles with eyes that accept your twine in diameters that pass smoothly through your punch holes, then round their tips so they won’t catch in leather and adjoining twine. Keep these in a separate container, because they’ll be ruined for sail repair. You’ll find that a cake of beeswax in your ditty bag will help you shape twine tips for passage through the needle’s eye.

Your stitches will be durable, but why subject them to the metal oarlock? Stitching should be on the top surface of the oar looms as the oars swing.


Oar Vises

You’re going to need these for stitching and for oar repair to come. It’s a half-hour job to cobble up a couple, one of those chores on which you congratulate yourself for years,

“You clever rascal!”


Leather Location?

If you’ve made your oars to the specifications of a design, the construction plans will give you the precise location for leathers. If you bought new oars “off the rack” (no shame) your task will be to sit in your tender and row.

Take your time to vary your seating and the oars’ angle and swing. Mark points where the oarlocks naturally ride for the various positions. Center the location of your 10” to 14” length of oar leather on the average of these repeated marks.

Circumference


With the oar held blade-vertical in your oar-vise, stick some dark masking tape around the oar’s loom at the locations of the inboard and outboard ends of your 10” to 14” leather, to help you orient placement.

Wrap your leather around the loom (rough side down), and mark the circumference of loom on both ends of the leather’s length. Because looms usually taper slightly, these marks won’t be the same; they’ll indicate different circumferences. Strike a line between those points and subtract about 3⁄16” to make a second line. Cut the leather along the second line: the unstitched leather lips should meet only when the stitching draws the edges of the slightly elastic leather together.

Marking and Punching Holes


Strike a third line 3⁄16” inside your cut. This is the first baseline for stitches. From each end mark about 3⁄8” from the inboard and outboard edge; stitches don’t start at the edge but inside it. From one end, along the stitching baseline, mark stitching holes at 3⁄8” intervals. Is this the only set of oars you’ll ever use? If not, use care in measuring and punching holes in a leather template to guide your stitches every time. The template will also help you position the row of stitching so initial and terminal stitches are evenly marked from the edge. Mark the stitches with a soft pencil through the template on the 3⁄8” measurements. With a good backing board, punch small holes (about 1mm or a little less than 1⁄32”). Mallet-driven leather punches tend to make the cleanest holes, but you can try a pliers-type punch if it offers a hole small enough. When you’ve completed one row of holes, fold the leather over and mark through them for the holes on the other side, so the holes will register identically, side-to-side.

Simple Steps

This is a rainy-afternoon project, with small de  ned steps demanding little of your creative input but much of your focus. How is the loom finished? If it’s varnished or polished with a penetrating finish, roughen the surface under the leather with a ScotchBrite pad or 220-grit sandpaper to prevent the leather from slipping.

Stickum


Contact cement (we’ve used DAP Weldwood Contact Cement) will not entirely glue the leather to the loom but will anchor it to the loom on the side opposite the stitching. When your stitching holes are ready, flip the leather to the rough side and brush on two coats of contact cement (the first will be absorbed almost entirely) only on half the length of the leather, not out to the stitching! When the cement is still tacky, use the inboard and outboard tape on the loom to position the leather and hold it in place with a few tape fastenings you can discard as your stitching reaches them.

Some people, instead of or in addition to using cement, prefer to soak their leathers in warm water for a while and stitch them on wet, relying on leather’s propensity to shrink as it dries to cinch them tight and prevent slippage (see WB No. 127).

Anchor Stitches


Unspool about 6′ of waxed twine and thread up two of the rounded-tip sailmaker’s needles. Left needle threads left side first hole from outside; right through right side from below. Left repeats this two or three times to firmly anchor the leather and draw it together with moderate tension.

Herringbone


Both needles, now. Far-side needle crosses from its emergence, over the gap and under the next-up, other-side hole; near-side needle goes over the gap and threads up under the far-side next-up hole. The cross pattern is now apparent. Keep going—right goes over to other side, up through its hole from beneath; left goes over to other side and up through its hole from beneath. Needles change sides, repeat mirror actions, snugging up so edges of leather meet—clever you!

End Anchor


When the cross herringbone pattern is complete to the last holes, the needle with the longest thread goes straight across (not diagonal), through opposite hole, emerges under far hole, and is tugged tight. It repeats this pass at least twice. Now each needle crosses over, through opposite hole, but emerges under the leather’s end. Tie the remaining twine in a tightening reef knot that disappears under the edge of the leather. The twine can be cut, may be fused with a flame-heated blade, and tucked back under the leather.

Button

The last part of your leather is the button that deters the oar from slipping out of the oarlocks, as on this Swedish double-ender. This is a task of delicate, mitered angles to offer more gluing surface to a band of leather circling the loom’s circumference. Use tape above and below the button to prevent contact cement from staining the oar or leather. Match the angle of the leather tip on top to its mate beneath it—like a scarf joint. This may require more than one try. Follow contact cement directions, use multiple coats to compensate for leather’s absorbency, and clamp tightly, perhaps with a scrap of waxed paper or parchment beneath your clamps.

Rewarding Your Leather

When you’ve completed your oar leathers, extend their lives by reconstituting lost oils. Warm the leather with a heat gun or a hair dryer and lay on tallow (we’ve used Oarsman Marine Tallow), warmed beeswax, or a proprietary leather oil.  Article ends.